


How to Prepare a Building Lot Without Costly Rework

A new home can look like a straightforward project on paper: clear the trees, dig the foundation, and start building. On an actual property, the ground decides whether that plan holds up. Learning how to prepare a building lot means dealing with water, soil, access, utilities, permits, and elevations before they become expensive problems under or around the house.
Good lot preparation is not simply making land look flat. It is creating a stable, buildable site that directs water away from the future foundation, gives trades room to work, and supports the home for decades. Skipping steps may save money during the first week of construction, but it often leads to drainage corrections, cracked concrete, settlement, and damaged landscaping later.
Start With the Land, Not the Excavator
Before clearing begins, understand what is actually on the property. A wooded lot can hide ledge, wet areas, old stone walls, poor soils, buried debris, or significant changes in elevation. These conditions do not automatically prevent construction, but they affect the design, schedule, and budget.
A boundary survey and a site plan are the starting point. They establish property lines, setbacks, easements, road access, proposed building location, well and septic areas where applicable, and the existing and proposed grades. Do not assume a fence line, tree row, or old marker represents the legal boundary. Clearing or grading beyond your property line creates a problem that is much harder to fix than it is to avoid.
In Southern New Hampshire and Massachusetts, ledge and uneven terrain are common concerns. Test pits and soil evaluations can reveal whether excavation will involve ordinary earth, large boulders, shallow bedrock, wet soils, or unsuitable fill. A contractor should be direct about these possibilities. Rock removal, engineered fill, drainage structures, or a revised house location may add cost, but pretending the conditions are not there does not make them disappear.
Confirm the Plan, Permits, and Site Constraints
Lot work should follow an approved plan, not a rough idea discussed at the driveway. Local requirements vary by town, but permits may be needed for earthwork, driveway access, septic systems, wells, utilities, stormwater controls, demolition, and wetlands work. A building permit alone may not cover all site preparation.
Pay attention to easements and protected areas. Utility easements may limit where structures, retaining walls, fill, or trees can go. Wetland buffers and drainage rules can affect the usable footprint of a lot. If the property has a stream, low area, pond, or visible seasonal water, address it early with the right professionals and local officials.
This planning stage is also the right time to make practical decisions about the finished property. Where will trucks enter? Where will visitors park? Does the driveway need room for safe winter plowing? Is there enough area for construction materials without compacting the future septic field? These details affect the order of work and prevent a finished site from feeling cramped or poorly organized.
Clear Only What Needs to Be Cleared
Lot clearing should make room for construction while preserving useful trees, natural screening, and stable ground wherever possible. Clearing every tree to the property line can leave a home exposed, increase runoff, and create more restoration work at the end.
Trees scheduled to remain need protection before equipment arrives. Heavy machines can compact soil over root systems or damage trunks, causing healthy-looking trees to decline years later. Mark protection zones clearly and keep stockpiles, parking, and equipment away from them.
Stumps, roots, brush, old sheds, and buried debris need to be removed from the building area, driveway, utility routes, and planned lawn or hardscape areas. Leaving organic material beneath fill is a shortcut that can lead to settlement. Wood decomposes. When it does, the ground above it drops.
If a lot has old foundations, concrete, fuel tanks, or questionable fill, identify those conditions before excavation is underway. Demolition and disposal should be handled correctly, with materials separated when practical and unsuitable material removed rather than buried where it can cause trouble later.
Establish Access and Protect the Site During Construction
A building lot needs an access route that can handle delivery trucks, concrete mixers, excavators, and other heavy equipment without turning into a muddy rut. The driveway location, base material, culverts, and drainage all matter. A temporary construction entrance may be needed before the finished driveway is installed.
Water management starts on day one. Silt fence, stabilized construction entrances, diversion swales, and protected stockpiles help keep sediment from washing into streets, neighboring properties, or wetlands. Erosion controls are not decorative barriers installed for an inspection. They need to be maintained after rain and adjusted as the site changes.
Keep topsoil separate from structural fill. Topsoil is valuable for final grading and lawns, but it is not a stable base for a foundation, driveway, or patio. Mixing it into fill creates weak, inconsistent ground. A well-run site has designated areas for topsoil, clean fill, stone, debris, and materials, with enough space to keep work moving safely.
Grade the Lot for Drainage Before Building
Drainage is where many lot-preparation jobs either succeed or fail. Water should move away from the house, not collect against the foundation, flow across a driveway, or drain onto a neighbor's property. The goal is controlled drainage, not simply pushing water downhill as fast as possible.
Rough grading establishes the basic elevations for the foundation, driveway, yard, septic components, utilities, and drainage features. The finished floor height should be planned with the surrounding land in mind. Setting a house too low can leave little room to create positive drainage. Setting it too high can create steep slopes, difficult driveway grades, and unnecessary retaining wall costs.
Depending on the property, the plan may include swales, catch basins, culverts, footing drains, curtain drains, dry wells, or stone drainage areas. The right solution depends on soil, slope, roof runoff, groundwater, and the amount of impervious surface being added. There is no one drainage detail that works for every lot.
Avoid the common mistake of assuming gutters will solve poor grading. Gutters help manage roof water, but they cannot correct a yard that slopes toward the foundation or a driveway that channels runoff into the garage. A dry basement starts with proper site elevations and drainage installed before the final landscaping hides the problem.
Install Underground Work Before Final Surfaces
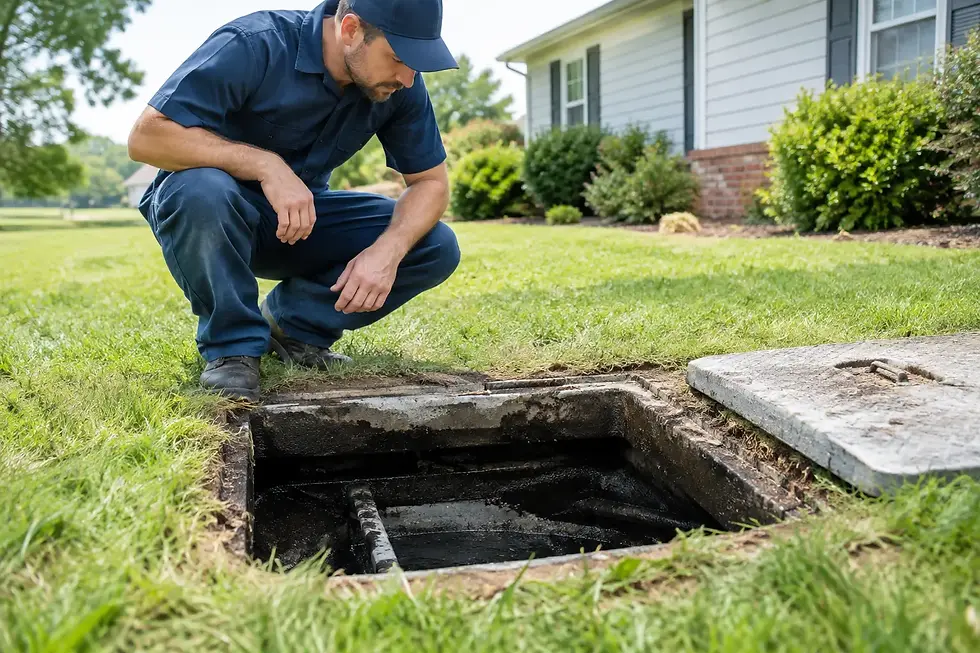
The best time to install water, sewer, septic, electrical conduit, gas lines, and drainage is before driveways, sidewalks, patios, and finished lawns are installed. Digging through new concrete or a completed yard because a utility route was overlooked is frustrating and avoidable.
Coordinate trench locations carefully. Water and sewer lines need appropriate separation, depth, bedding, and protection. Septic work must follow the approved design and keep heavy equipment off areas that cannot be compacted. Utility stubs should be located accurately so the foundation and future mechanical connections line up without last-minute trench changes.
This is also the time to think ahead. Even if a future garage, pool, generator, outdoor kitchen, or detached structure is years away, installing sleeves or conduit during site work can be far less expensive than tearing up finished areas later. It only makes sense when the future plan is realistic, but a short conversation now can prevent major disruption later.
Build a Stable Base for the Foundation and Exterior Work
Once excavation reaches the required depth, the exposed soil should be evaluated before foundation work continues. Soft pockets, water, organic material, and disturbed soils need correction. In some cases, that means undercutting unsuitable material and replacing it with compacted gravel or engineered fill. In others, it may mean changing the approach based on soil conditions.
Compaction is not a step to rush. Fill should be placed in controlled lifts and compacted properly, especially beneath foundations, slabs, driveways, retaining walls, and patios. A surface can look smooth and still be poorly compacted underneath. Settlement may not show up until after the house is built, when repairs are more disruptive and far more costly.
Foundation drainage, waterproofing, and perimeter stone should be completed carefully before backfill. Backfilling with the wrong material, damaging waterproofing, or failing to protect drain piping can create the very foundation water issue the system is meant to prevent.
Finish Grade Last, Then Verify the Details
Final grading happens after the major construction traffic is done. Topsoil is spread where needed, lawn areas are shaped, drainage features are finished, and the land is tied into the driveway, walks, patios, and other completed work. This is when the site should start looking finished, but appearance should not outrank function.
Walk the property after a heavy rain if possible. Look for water standing near the house, runoff crossing the driveway, washouts on slopes, and downspouts dumping where they should not. Small adjustments are easier before lawns are fully established and hardscape is complete.
A properly prepared lot gives every part of the project a better chance to perform as designed. Ask questions before the machines arrive, insist on a drainage plan, and choose site work that protects the home you are about to invest in. Doing it right at the ground level is one of the best ways to avoid paying for the same work twice.


Comments